近来重新弄了下监控系统,整理了文档,打算分几次摘选发出来。
zabbix(音同 zæbix)是一个基于WEB界面的提供分布式系统监视以及网络监视功能的企业级的开源解决方案。
zabbix能监视各种网络参数,保证服务器系统的安全运营;并提供灵活的通知机制以让系统管理员快速定位/解决存在的各种问题。
zabbix由2部分构成,zabbix server与可选组件zabbix agent。
官网下载地址: http://www.zabbix.com/download.php
前提需求/依赖
Zabbix服务端的运行需要LAMP或LNMP环境(管理网页为PHP语言)。
可使用Yum安装或源码安装:
yum install mysql-server httpd php* gd mysql-devel
安装SNMP:
yum install net-snmp-devel
源码方式安装SNMP:
yum install perl-ExtUtils-CBuilder perl-ExtUtils-MakeMaker
wget https://nchc.dl.sourceforge.net/project/net-snmp/net-snmp/5.8/net-snmp-5.8.tar.gz
tar zxf net-snmp-5.8.tar.gz -C /usr/local/src/
cd /usr/local/src/net-snmp-5.8/
./configure --enable-internal-md5 --enable-blumenthal-aes --enable-reentrant --with-openssl=/usr/local/openssl/ --with-systemd --with-zlib=/usr/local/ --with-bzip2=/usr/local/ --with-persistent-directory="/var/lib/net-snmp"
make -j `cat /proc/cpuinfo | grep processor | wc -l` && make install
安装fping:
yum install -y epel-release
yum install -y fping
创建数据库和授权用户:
CREATE DATABASE zabbix CHARACTER SET utf8 COLLATE utf8_bin;
CREATE USER zabbix@'%';
GRANT ALL ON zabbix.* TO zabbix@'%';
ALTER USER zabbix@'%' IDENTIFIED WITH mysql_native_password BY 'zbxpass';
安装Zabbix
zabbix-server
创建系统用户:
groupadd -g 300 zabbix
useradd -g zabbix -u 300 -s /sbin/nologin -c "Zabbix Server" -M zabbix
下载:
wget https://sourceforge.net/projects/zabbix/files/ZABBIX%20Latest%20Stable/4.0.4/zabbix-4.0.4.tar.gz/download
tar zxf zabbix-4.0.4.tar.gz -C /usr/local/src/
cd /usr/local/src/zabbix-4.0.4/
编译配置:
./configure --prefix=/usr/local/zabbix --with-mysql=/usr/local/mysql/bin/mysql_config --with-net-snmp --with-openssl=/usr/local/openssl/ --with-libcurl=/usr/local/curl/bin/curl-config --with-libxml2=/usr/local/libxml2/bin/xml2-config --with-libpcre --with-iconv --enable-server --enable-agent --enable-proxy --enable-ipv6
由于我的LAMP环境是源码方式安装的,所以携带路径。
编译安装:
make -j `nproc` && make install
导入数据库:
cd database/mysql
mysql -uzabbix -p'zbxpass' zabbix < schema.sql
mysql -uzabbix -p'zbxpass' zabbix < images.sql
mysql -uzabbix -p'zbxpass' zabbix < data.sql
修改服务端配置文件:
cd /usr/local/zabbix/
mkdir logs
chown zabbix . logs
vim /usr/local/zabbix/etc/zabbix_server.conf
LogFile=/usr/local/zabbix/logs/zabbix_server.log
PidFile=/usr/local/zabbix/zabbix_server.pid
DBName=zabbix
DBUser=zabbix
DBPassword=zbxpass
AlertScriptsPath=/usr/local/zabbix/alertscripts
命令行方式启动:
su - zabbix -s /bin/bash -c /usr/local/zabbix/sbin/zabbix_server
netstat -nlput | grep zabbix

zabbix-agentd
Agent端安装需要pcre依赖。
yum install -y pcre-devel
创建系统用户,解压包过程就跳过,仅编译安装Agentd的话,编译时只需启用Agentd即可:
./configure --prefix=/usr/local/zabbix --enable-agent --enable-ipv6
make -j `nproc` && make install
如若需要加密传输,需加上–with-openssl选项。
修改Agent配置文件,连接到服务端:
mkdir /usr/local/zabbix/logs
chown zabbix /usr/local/zabbix /usr/local/zabbix/logs
vim /usr/local/zabbix/etc/zabbix_agentd.conf
PidFile=/usr/local/zabbix/zabbix_agentd.pid
LogFile=/usr/local/zabbix/logs/zabbix_agentd.log
Server=127.0.0.1
ServerActive=127.0.0.1
Hostname=Zabbix server
Include=/usr/local/zabbix/etc/zabbix_agentd.conf.d/*.conf
Tips:
- Server 服务端IP或名称,指允许此地址读取数据,可写多个,也可写CIDR网段
- ServerActive 服务端和代理端的IP或名称,用于活动检查,可写多个,逗号分隔
- Hostname 监控显示的主机名称,必须与zabbix创建的host name(名称)相同
设置为系统服务
systemd方式
设置zabbix-server:
vim /usr/lib/systemd/system/zabbix-server.service
# systemd service file for Zabbix Server
[Unit]
Description=Zabbix Server
After=syslog.target
After=network.target
After=nss-lookup.target

[Install]
WantedBy=multi-user.target

[Service]
#Type=oneshot
Type=forking
LimitNOFILE=50000
LimitNPROC=50000
User=zabbix
Group=zabbix
PIDFile=/usr/local/zabbix/zabbix_server.pid

ExecStart=/usr/local/zabbix/sbin/zabbix_server
ExecReload=/usr/local/zabbix/sbin/zabbix_server -R config_cache_reload
RemainAfterExit=yes
Restart=on-failure
RestartSec=10s
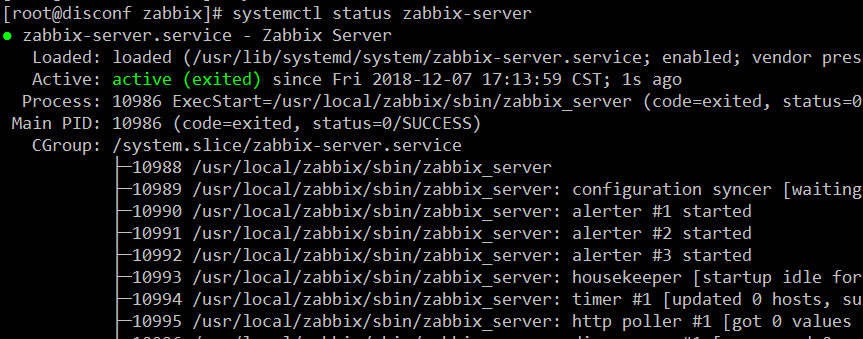
systemctl enable zabbix-server
systemctl start zabbix-server
systemctl status zabbix-server
设置zabbix-agentd:
vim /usr/lib/systemd/system/zabbix-agentd.service
# systemd service file for Zabbix Agent
[Unit]
Description=Zabbix Agent
After=syslog.target
After=network.target
After=nss-lookup.target

[Install]
WantedBy=multi-user.target

[Service]
Type=forking
LimitNOFILE=50000
LimitNPROC=50000
User=zabbix
Group=zabbix
PIDFile=/usr/local/zabbix/zabbix_agentd.pid

ExecStart=/usr/local/zabbix/sbin/zabbix_agentd
RemainAfterExit=yes
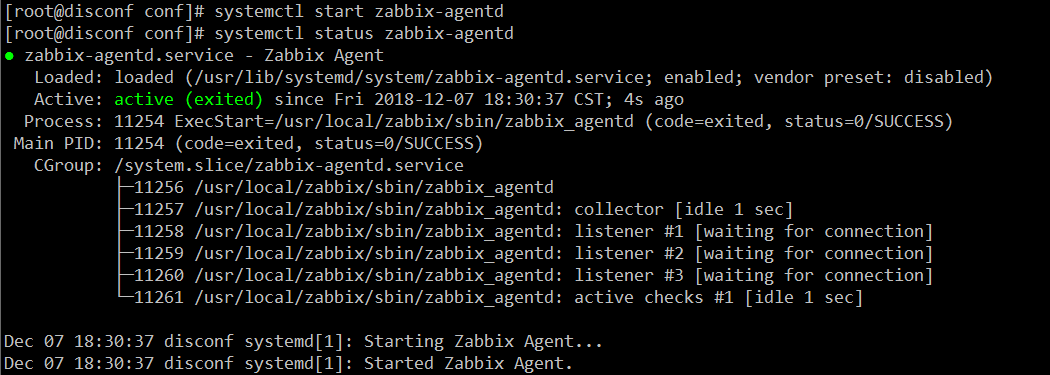
systemctl enable zabbix-agentd
systemctl start zabbix-agentd
systemctl status zabbix-agentd
init.d方式
在源码包(/usr/local/src/zabbix-4.0.2/misc/init.d/)中官方给出有示例服务脚本,可根据系统自行检查更改设置。
前端页面
程序设置
Zabbix源码目录中自带有前端PHP页面,将其拷贝到网站服务相关目录:
cd /usr/local/src/zabbix-4.0.4
cp -rfp frontends/php/ /data/www/zabbix
多语言化:
cd /data/www/zabbix/
locale/update_po.sh
locale/make_mo.sh
Apache中设置:
vim /usr/local/apache/conf/extra/httpd-vhosts.conf
...
<VirtualHost *:88 _default_>
    ServerAdmin [email protected]
    ServerName example.com
    DocumentRoot "/data/www"
    Alias /zabbix /data/www/zabbix
</VirtualHost>
<Directory "/data/www/">
    Options FollowSymLinks
    AllowOverride AuthConfig ALL
    Require all granted
</Directory>
<Directory "/data/www/zabbix">
    <IfModule mod_php7.c>
        php_value post_max_size 32M
        php_value max_execution_time 300
        php_value max_input_time 300
        php_value date.timezone Asia/Shanghai
    </IfModule>
</Directory>
...
systemctl reload httpd
上传字体文件(防止部分中文乱码):
在 C:\Windows\Fonts 下找,然后上传至/data/www/zabbix/fonts,将后缀ttc改为ttf即可。
然后修改配置文件:
vim /data/www/zabbix/include/defines.inc.php
define('ZBX_GRAPH_FONT_NAME', 'msyh'); // font file name
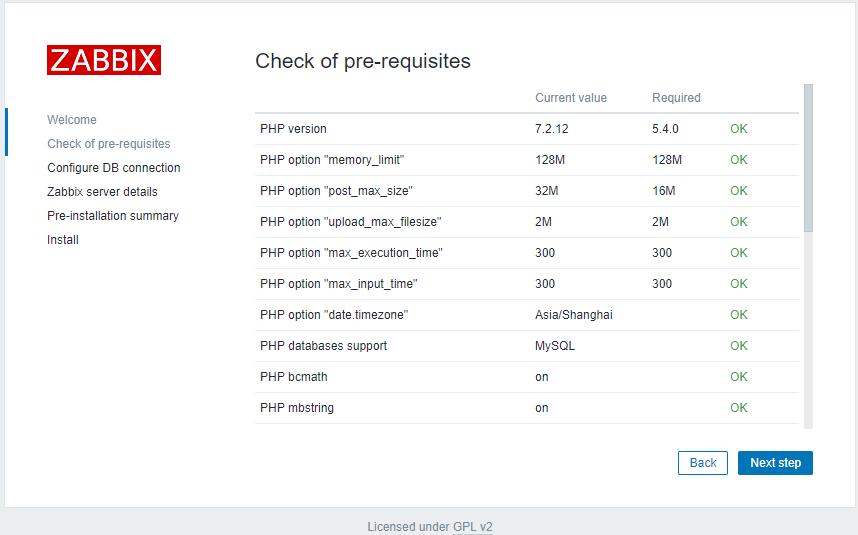
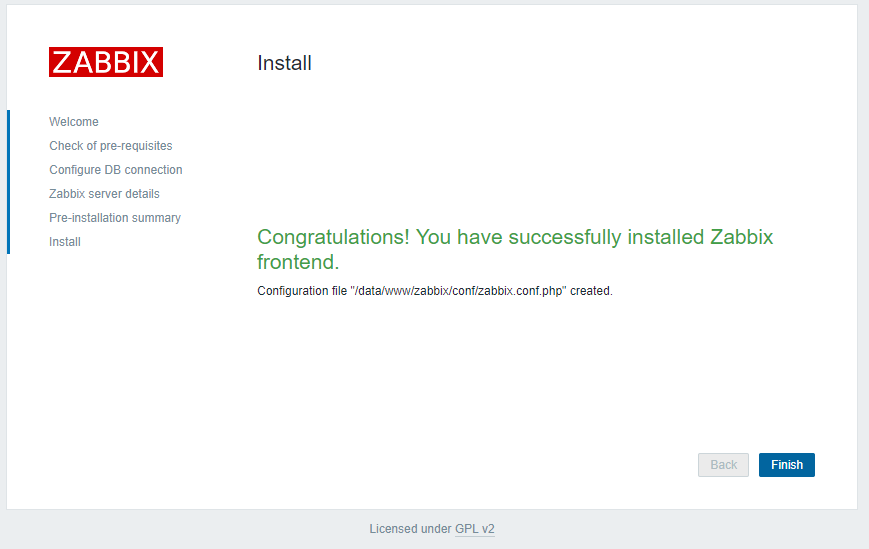
网页安装
之后打开 http://服务器IP:88/zabbix/ 按照提示,一步一步进行安装即可。
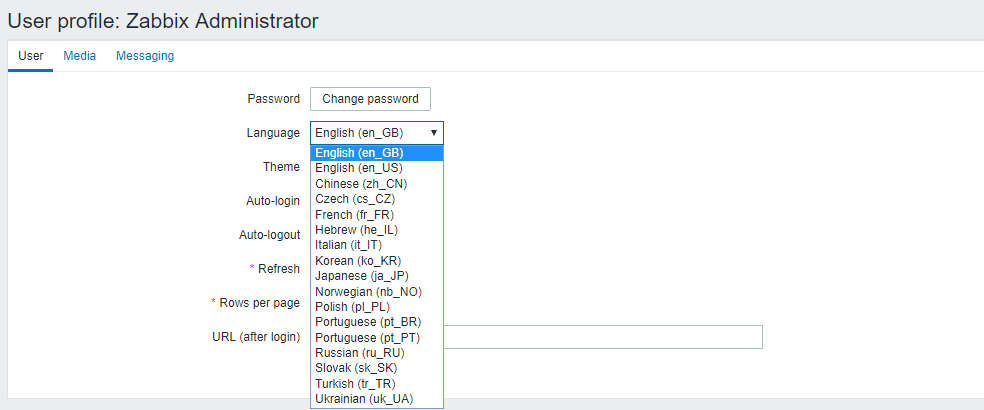
登陆
默认登陆管理员用户密码为:Admin/zabbix 。
登陆后,在用户配置管理中可以选择更改语言: